After a star tracking project I got hooked on astronomy. This post wraps up my first attempt photographing the Moon.
The Rig
Astrophotography can get extremely expensive. I’m a rookie therefore I tried to keep everything affordable. My 300$ rig:
- Second hand Celestron AstroMaster 130EQ telescope
- AstroMaster/PowerSeeker motor driver
- Raspberry Pi 3 Model B
- Camera Module V2
- Power Bank 14500 mAh
- Raspberry Pi 3 case
- Wrigley’s Extra spearmint chewing gum
- Duct tape
 The Raspberry Pi 3 connected to the camera
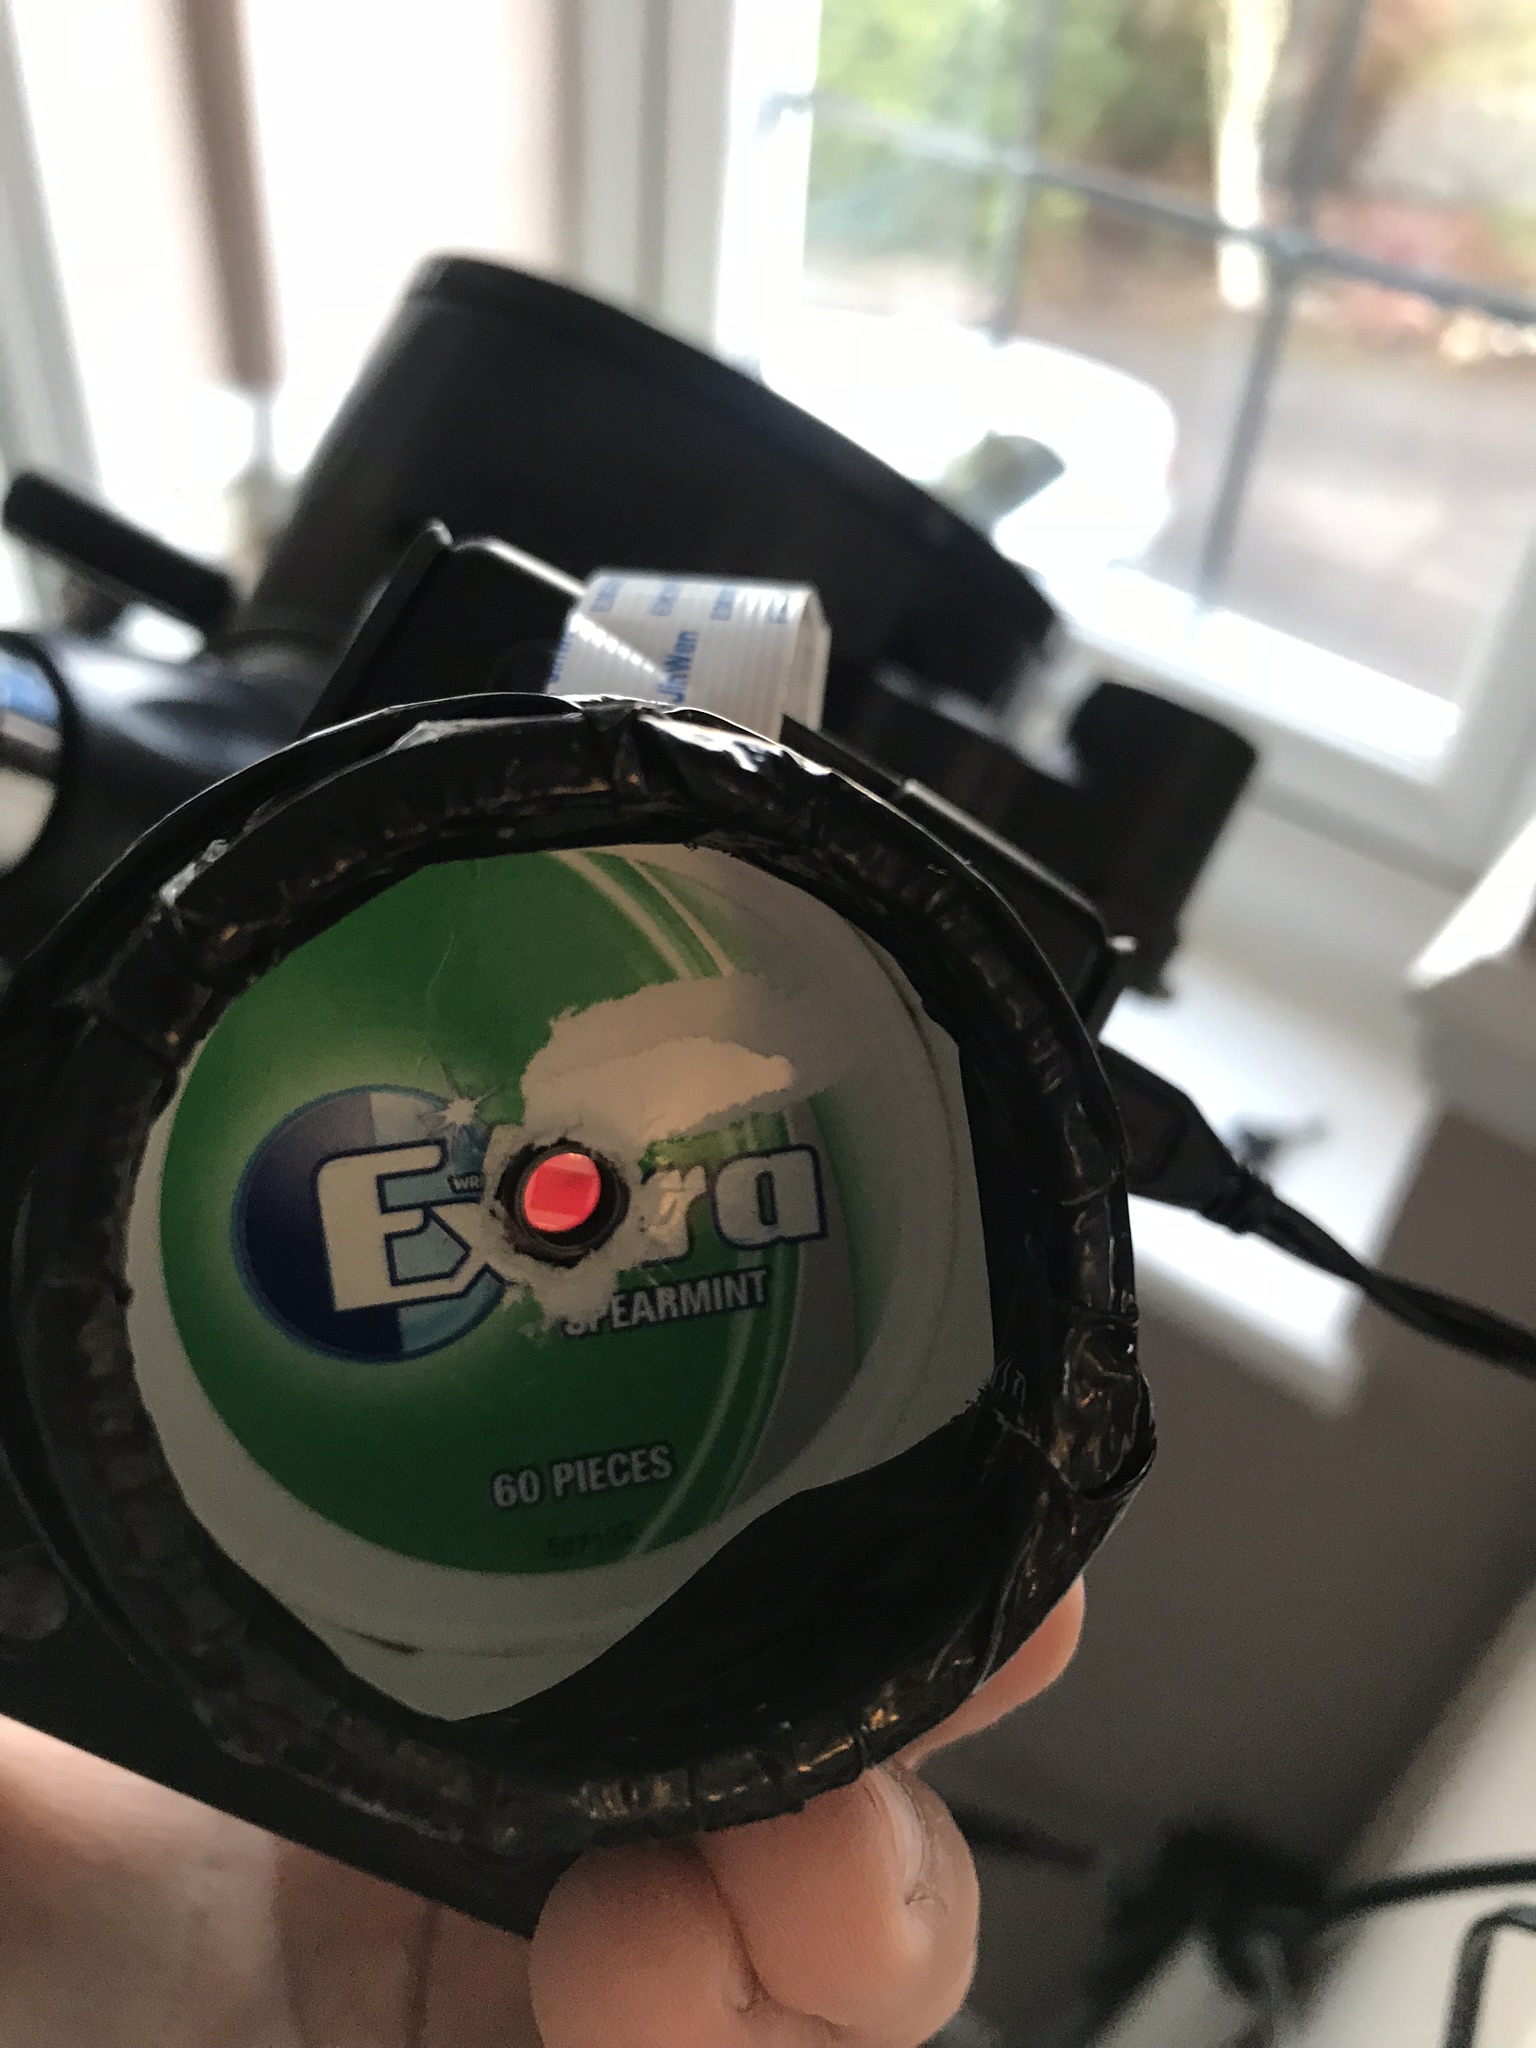 An "extra" universal T-Adapter
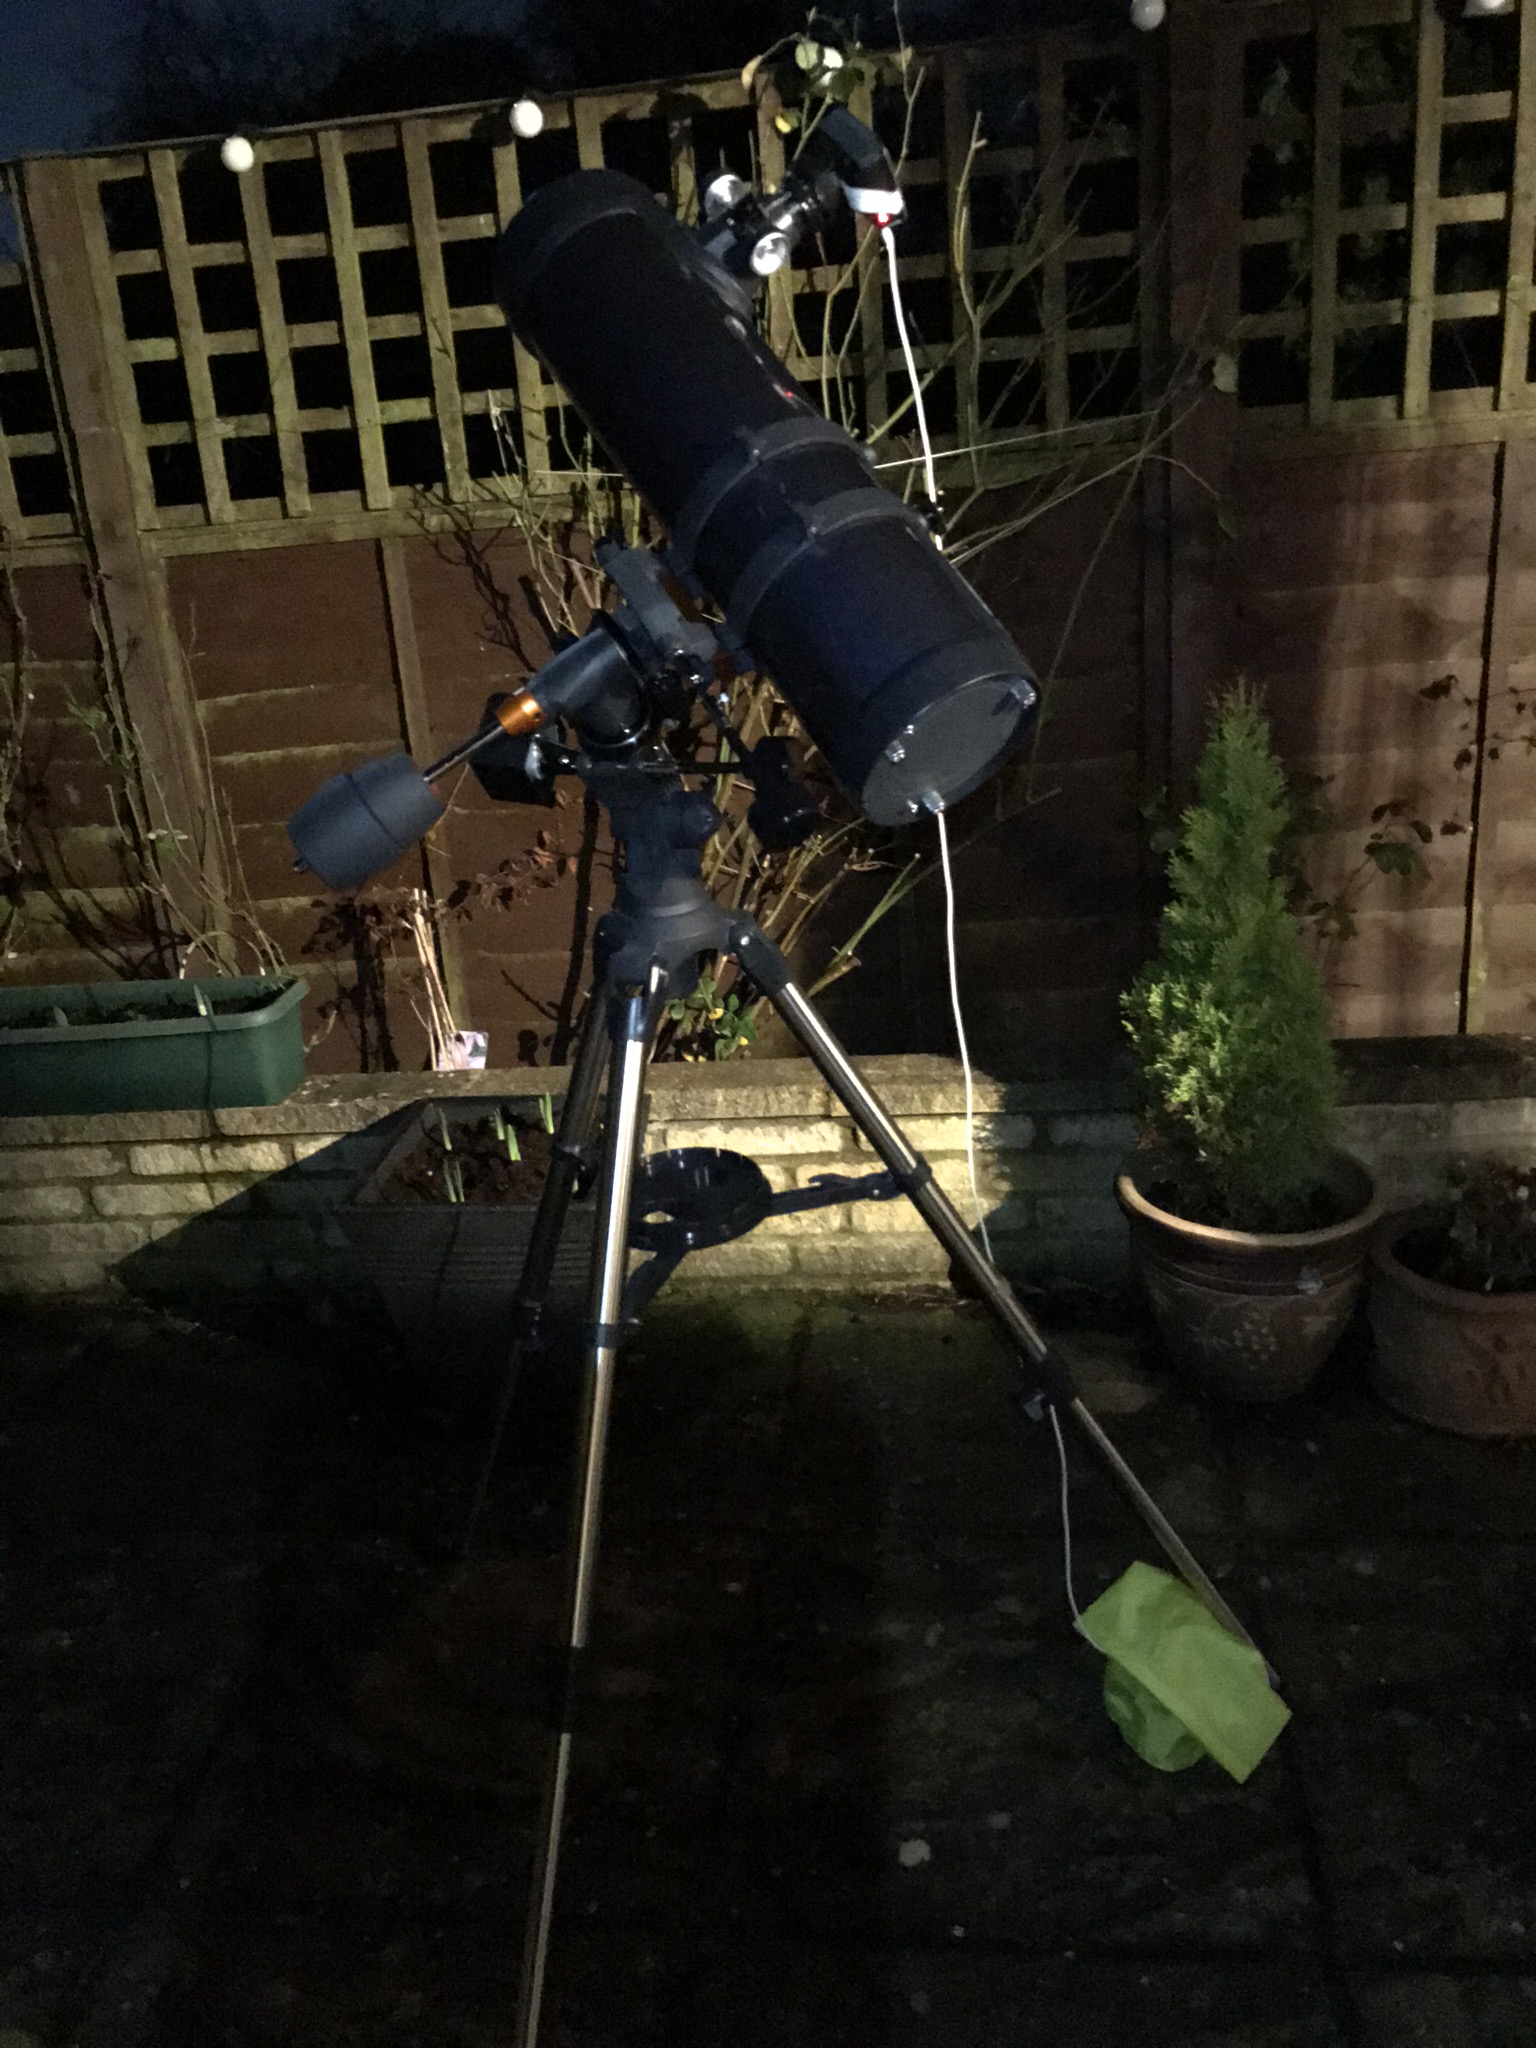 The rig assembled and ready
 First Image
31. January 2018, the Blue Moon and a clear sky made a perfect opportunity for a first test. I pointed the equatorial mount towards the celestial north pole and adjusted the motor to account for the Earth’s rotation. After I attached the “extra” universal T-Adapter the telescope was ready. Then I adjusted the focal point using raspistill’s preview over Wi-Fi 1.
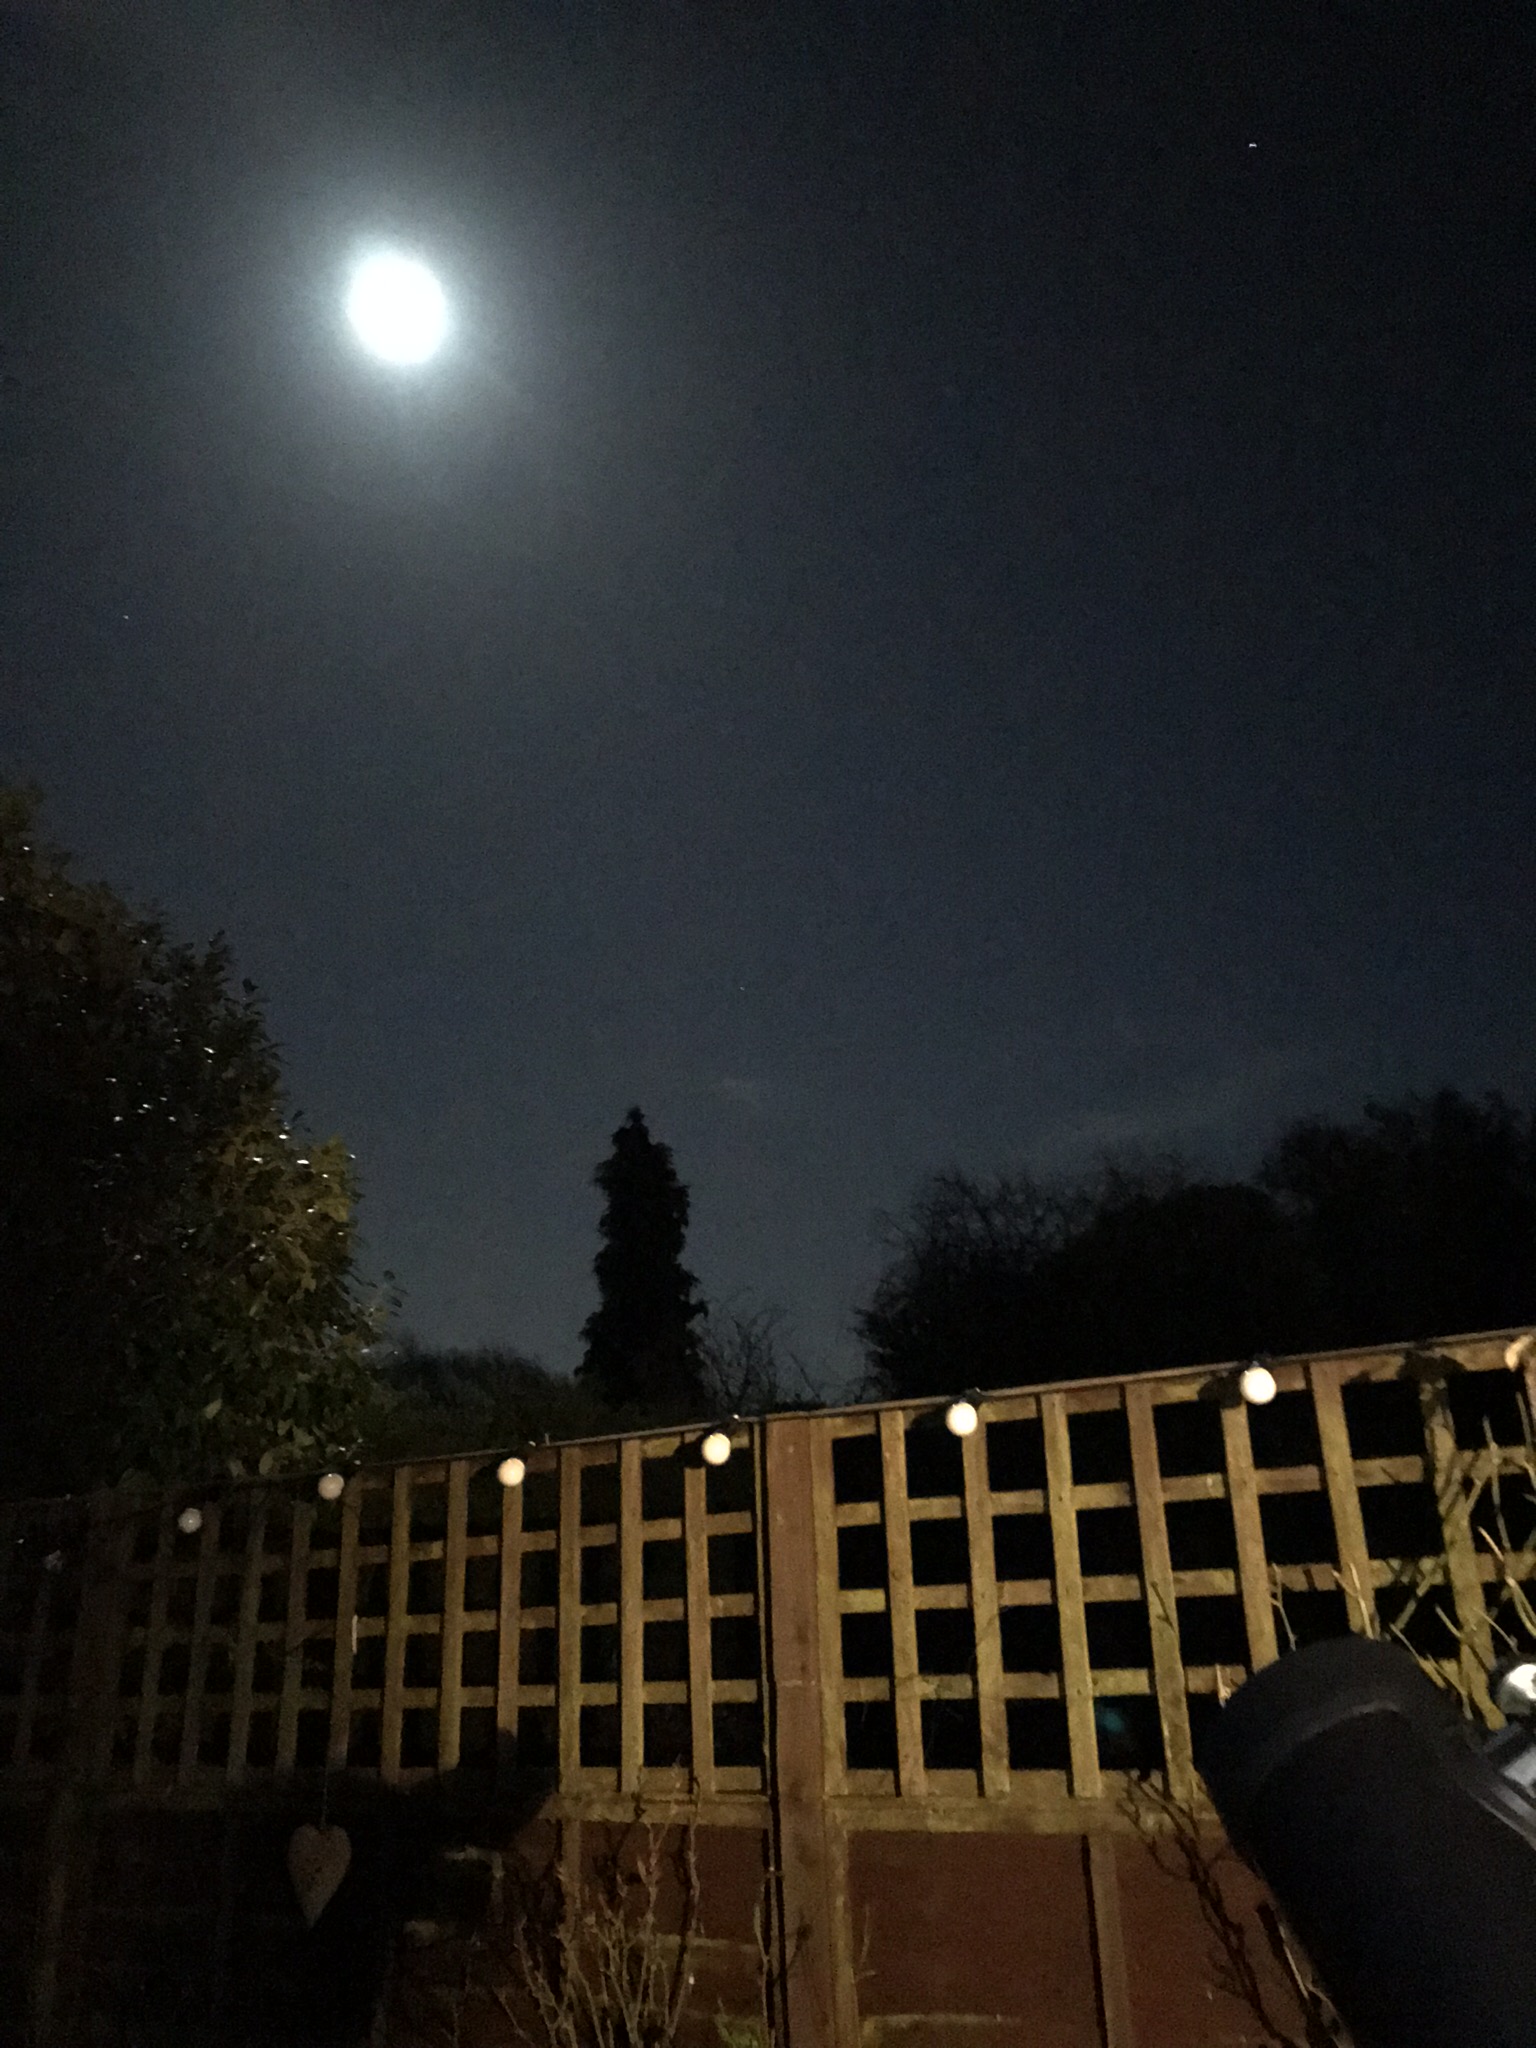 A Blue Moon has nothing to do with the color
After a bit of fiddling with the parameters I decided to set shutter speed to 10 seconds and leave everything else untouched. This was definitely not a smart move. Fine-tuning recording parameters is important. Moreover, automatic tuning of parameters will ruin your long running recording series! But for this first project the goal was to accumulate know-how. The perfect shot is out of my reach, yet.
$ raspistill \
    --stats \
    --mode 3 \
    --encoding bmp \
    --quality 100 \
    --timestamp \
    --output 'moon%d.bmp' \
    --shutter 10000 \
    --timeout 0 \
    --nopreview
I choose to use BMP encoding for the images. Simply because I thought a bitmap is the closest I can get to a RAW image. This assumption is false. The BMP file format is is much more complex than I assumed2. Next time i will try extracting the RAW data from the JPEG as described in the awesome Picamera documentation. Between 2018-01-31T22:07:53+00:00 and 2018-02-01T00:07:37+00:00 I then finally started recording.
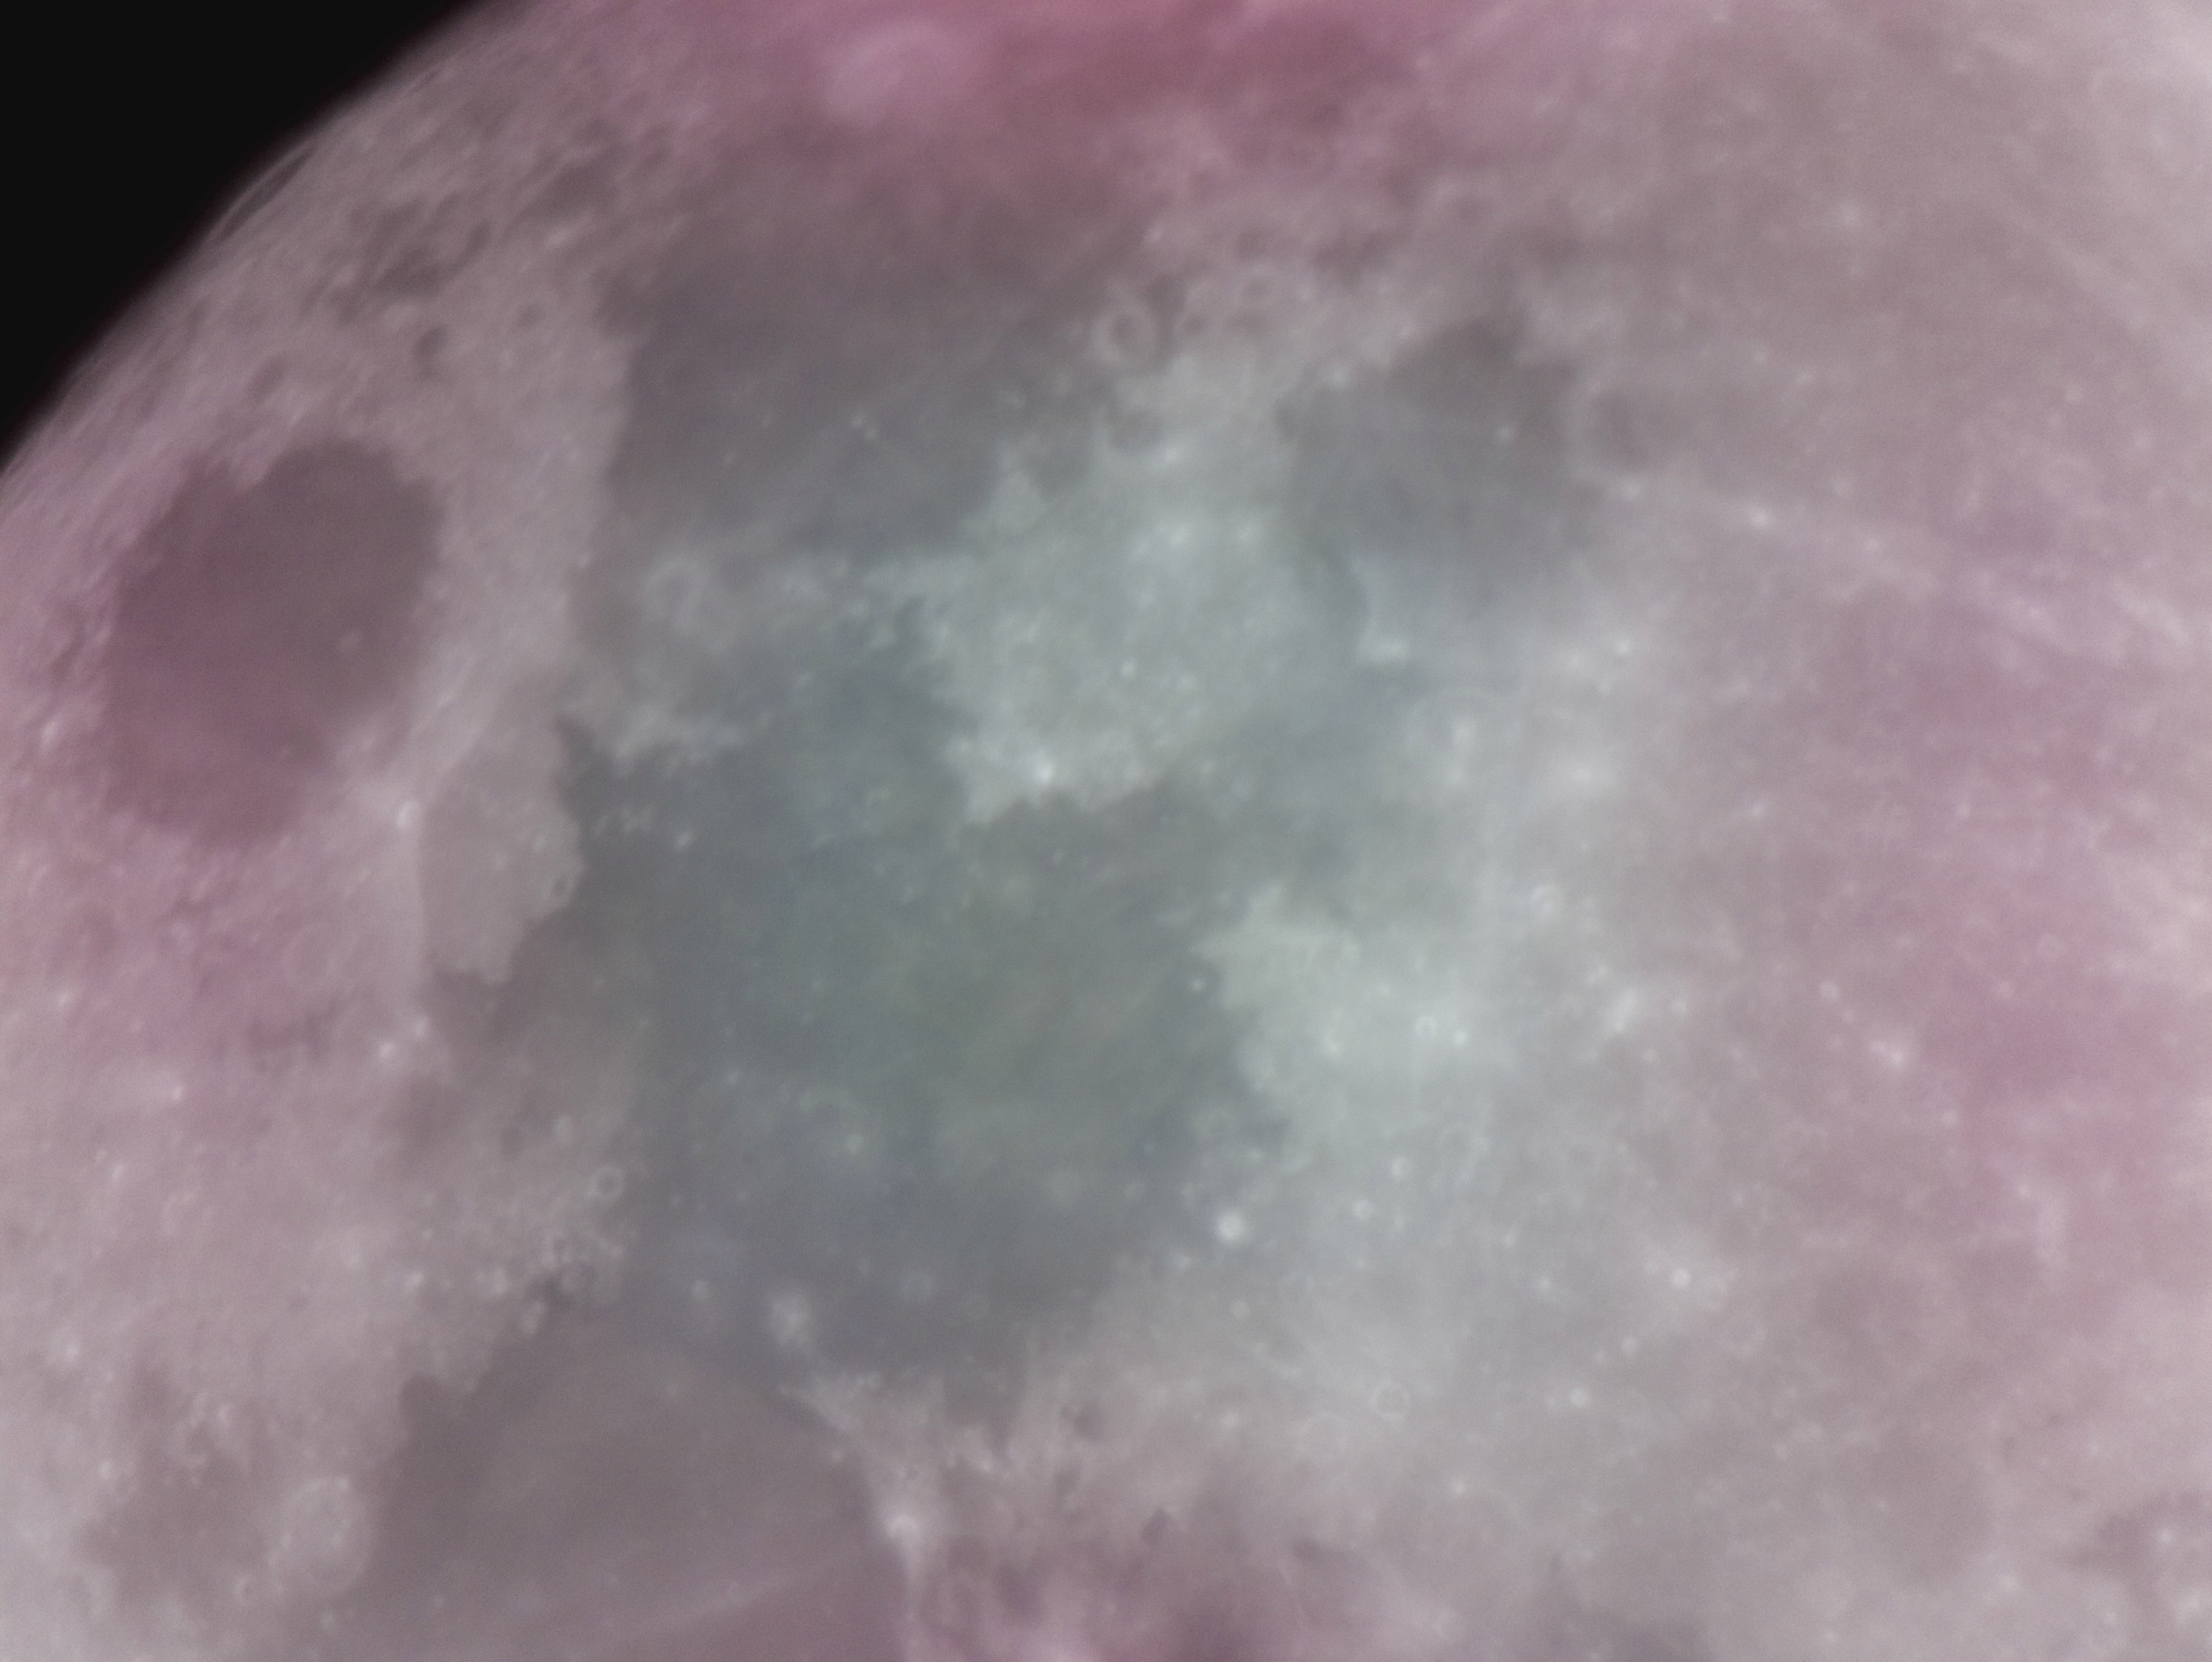 moon1517436473.bmp: The first image
Well, the images are generally too red and blurry. I tried to correct this during post-processing.
Post-processing
First I manually removed distorted and extremely blurry images. Leaving me with 139, worth 3.2 GiB of data. hugin 34 then assembled the panorama below. Again, everything on default parameters with a 20° field of view.
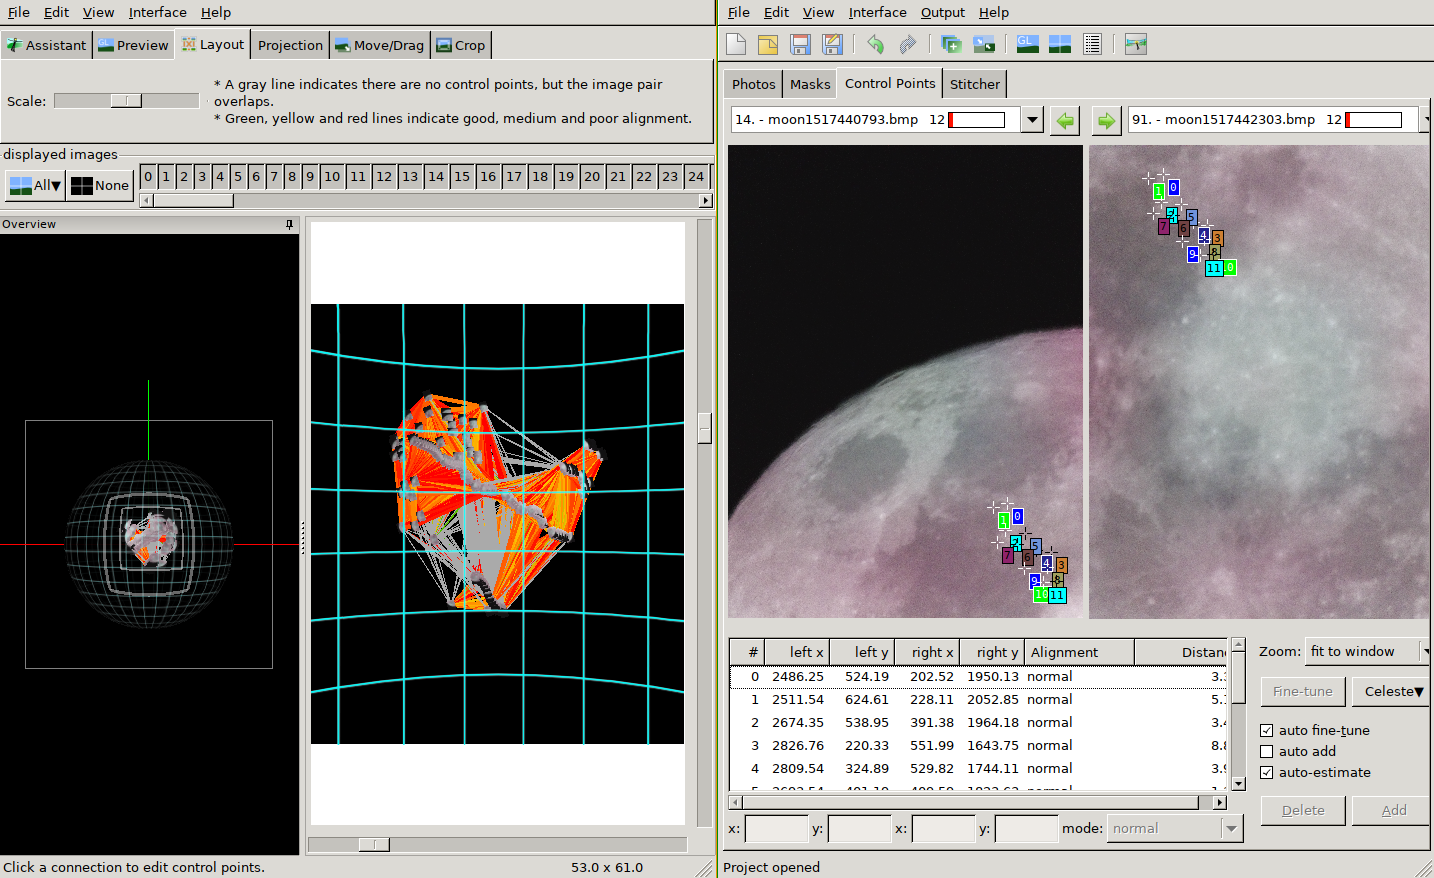 Assembling the Moon in hugin
 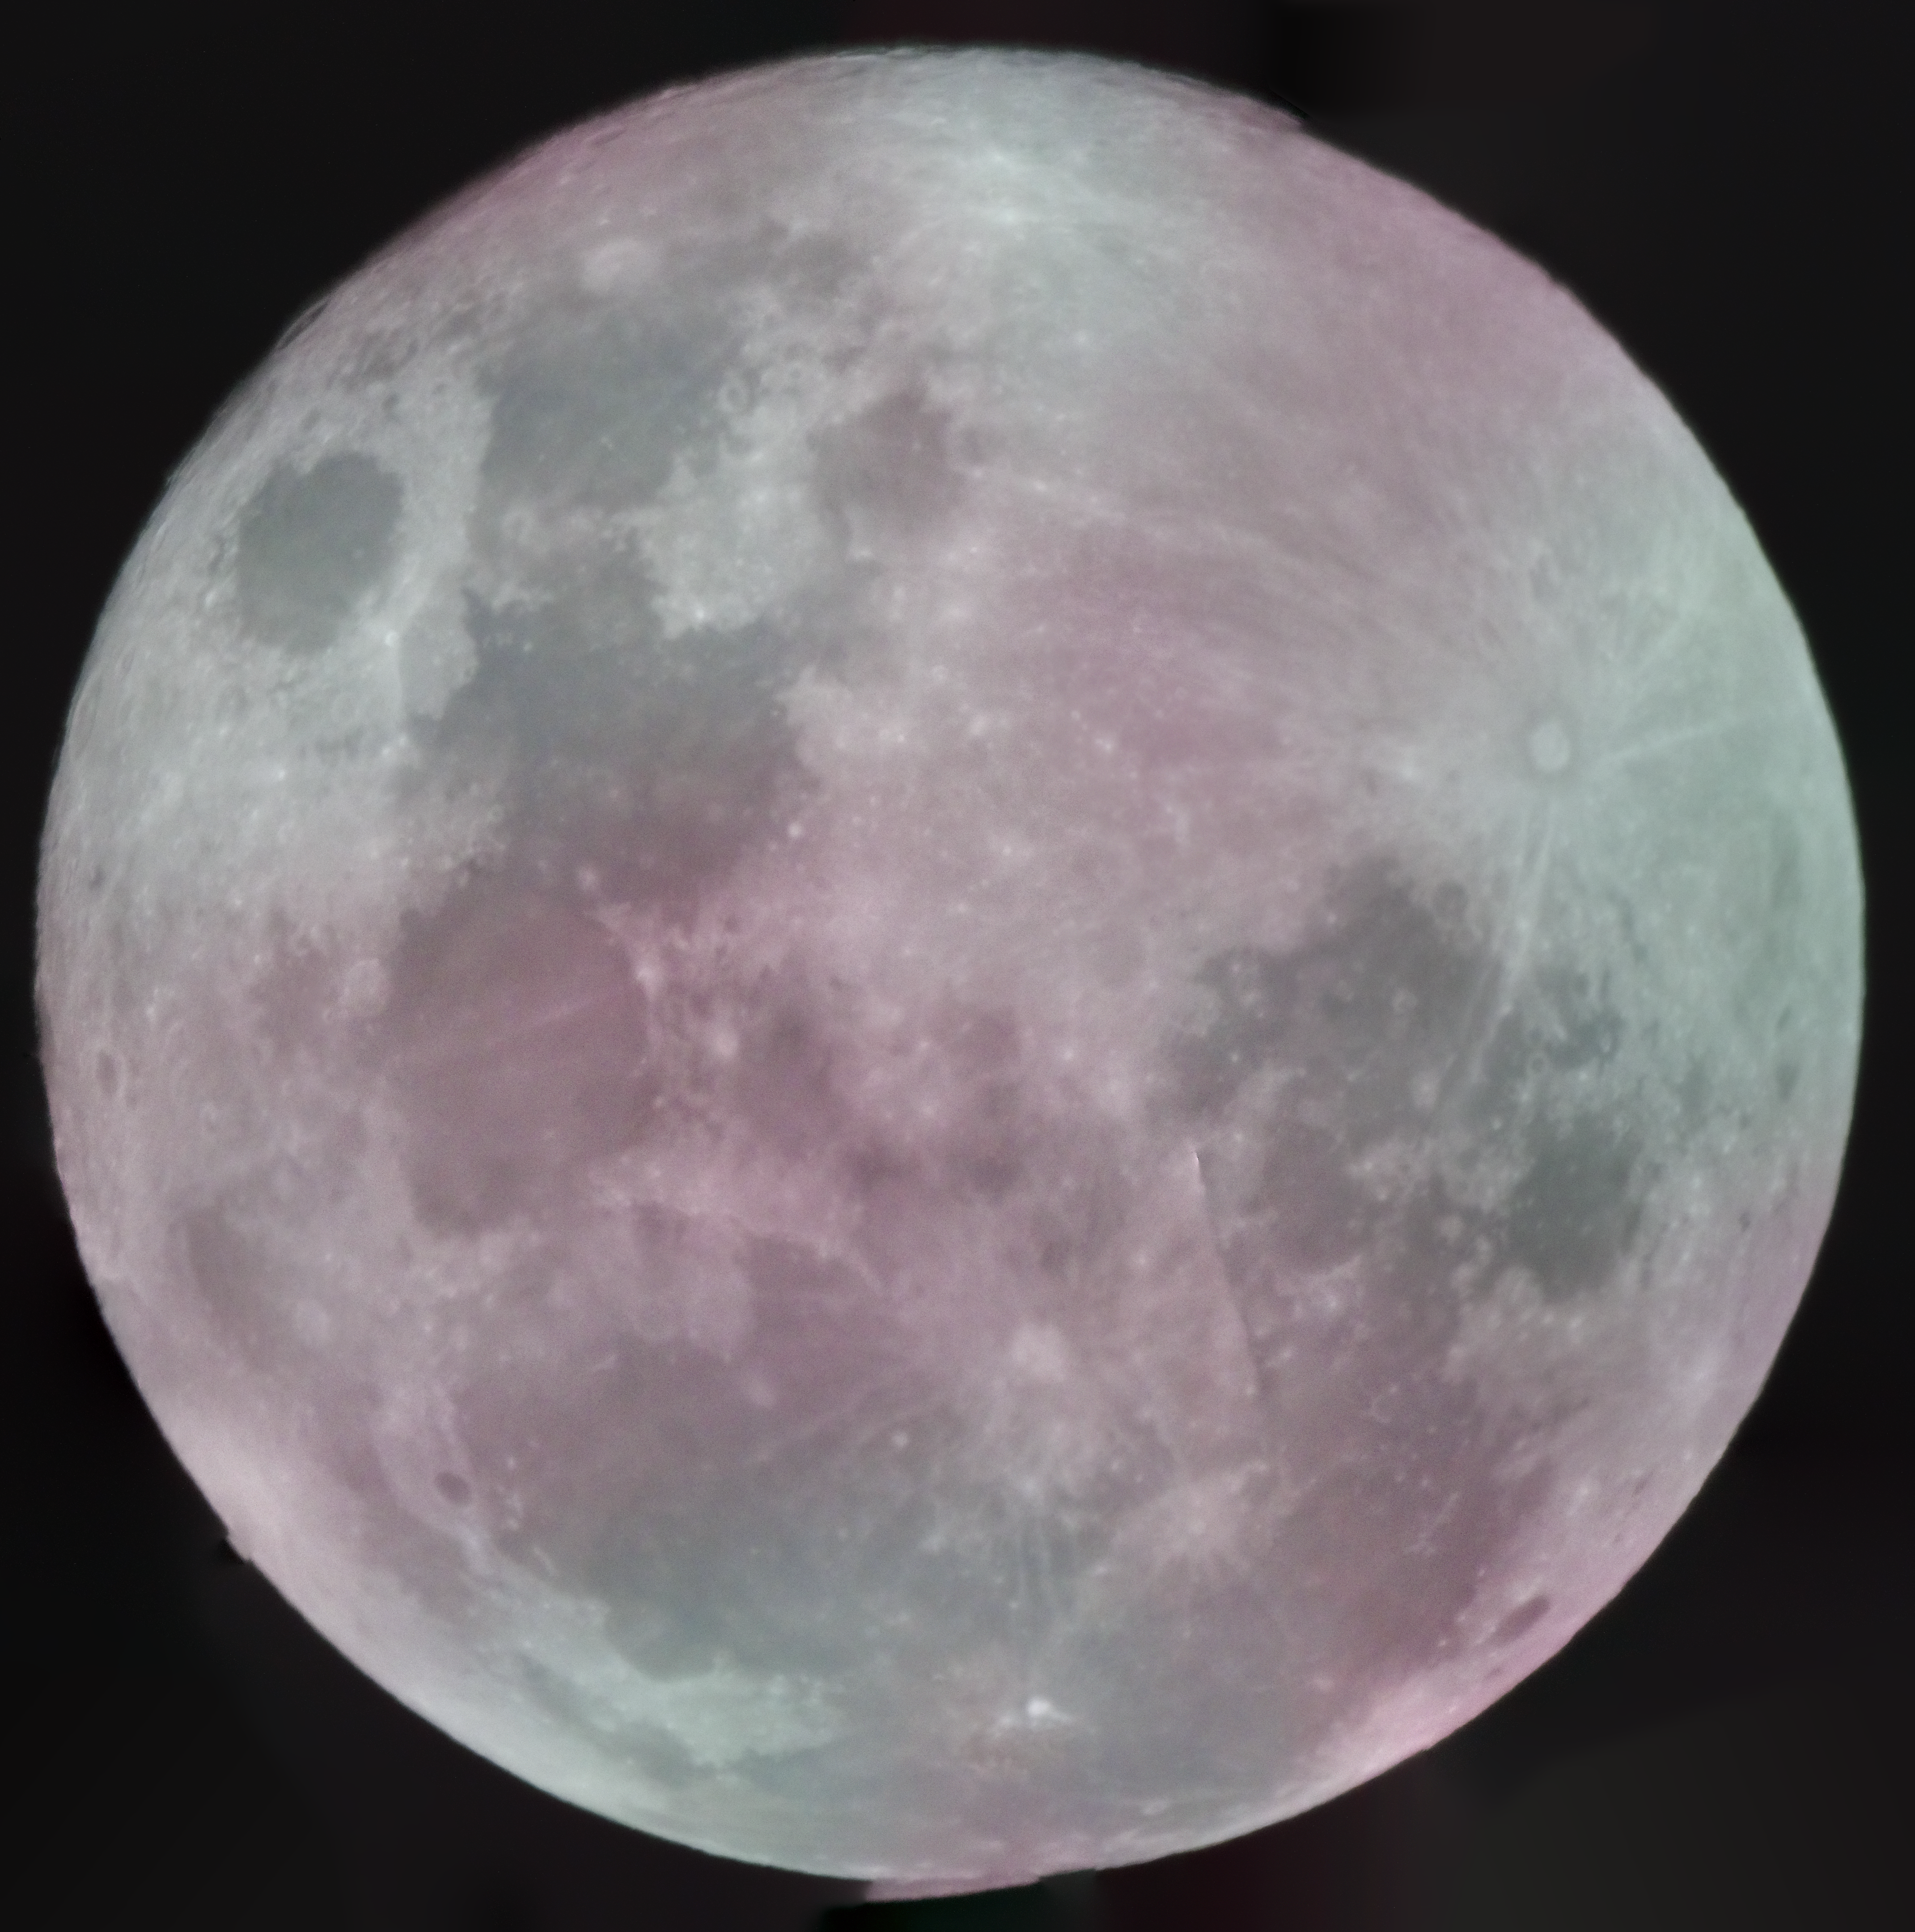 The unprocessed panorama
 The result is still red and blurry. This is why I then applied the following transformations in gimp:
- Desaturate
- Average strategy
- Adjust brightness and contrast
- Brightness: -60
- Contrast: 60
- Despeckle
- Adaptive
- Recursive
- Black level: -1
- White level: 256
- Sharpen
- Sharpness: 50
 The processed image
Final Thoughts
Compared to the imagery on wikimedia mine is a child’s drawing. But it’s mine! I am happy with the result because I was able to identify a lot of things to improve and test:
- Write a program which finds automatically the best recording parameters
- Find a procedure for motor calibration
- RAW instead of BMP
- Try overlaying multiple images to reduce noise
- Try Dark-frame substraction